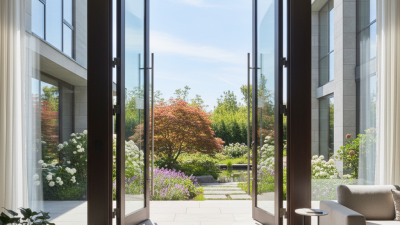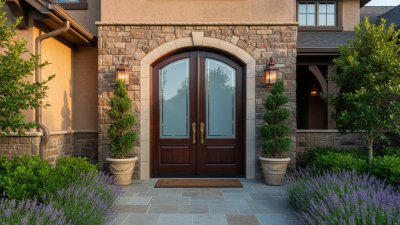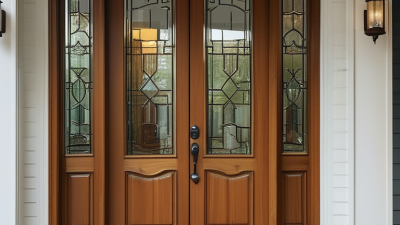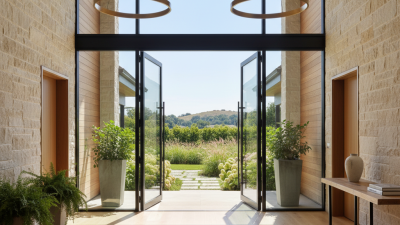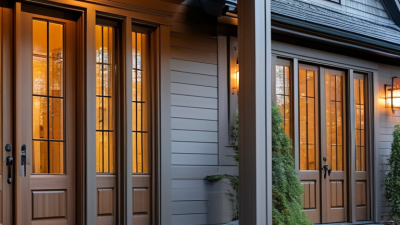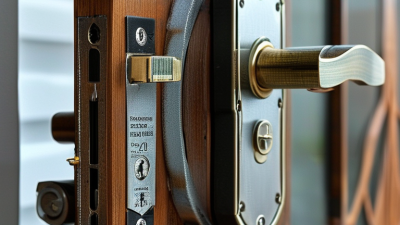
Measuring for double doors is not simply a matter of recording width and height. The rough opening, frame depth, threshold, swing clearance, and finished floor must work together. A small error can create uneven reveals, binding panels, or visible daylight around the frame.
The U.S. Department of Energy reports that windows and doors can account for roughly 25%–30% of residential heating and cooling energy use. Accurate sizing therefore supports more than appearance. It can also reduce drafts and improve comfort. The 2021 International Residential Code emphasizes that openings must suit structural and weatherproofing requirements, although local adoption varies. Always confirm local specifications.
Gary Johnson, a long-time fenestration technical specialist, offers a useful rule: “Measure the opening, not the old door.” That advice matters when replacing double doors, because older frames may be twisted, swollen, or incorrectly installed. Take measurements at the top, middle, and bottom. Record the smallest width. Check both diagonals. If they differ, the opening is not perfectly square.
Leave room for shims and adjustment. Do not force a nominal size into a cramped opening. A worksheet may look precise while missing the finished flooring or interior trim. That is where many mistakes begin. Measure again.
This guide explains how to measure double doors systematically, from rough opening dimensions to clearance and handing. It also highlights when professional verification is worthwhile, especially for wide, heavy, or custom-configured door systems.
How to Measure for Double Doors?
Identify the double-door opening before taking any numbers. Measure the finished opening, not the existing door panels. Remove loose trim when possible, then inspect the frame, threshold, and jambs. Look for swelling, damaged wood, uneven plaster, or a floor that rises on one side. These details can change the final fit.
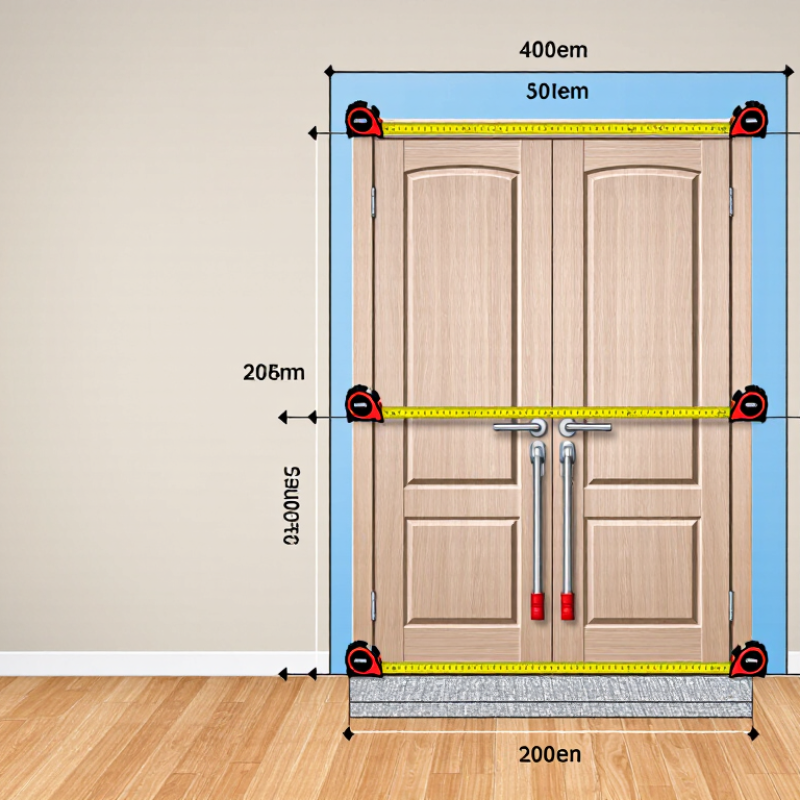
Use a steel tape for reliable readings. Measure the opening width at the top, middle, and bottom. Record every result. Measure height at the left side, center, and right side, from the finished floor to the underside of the header. Check the jamb depth at several points, especially near hinges and the meeting line. A deep wall can hide a shallow frame.
Check both diagonals from corner to corner. Unequal diagonal measurements usually indicate a skewed opening. Do not average the numbers too quickly. That shortcut once caused a noticeable gap at the center of a double-door installation. Measure the left and right leaves separately if the pair is unequal. Mark the intended meeting stile, hinge side, swing direction, and clearance at the floor. Leave notes beside each measurement, including the date and conditions. Timber can expand after rain. A perfect reading today may shift slightly tomorrow. Photographing each corner also helps verify details that a tape measure misses.
| Measurement Dimension | Where to Measure | Measurement Method | Record the Result | Why It Matters |
|---|---|---|---|---|
| Opening Width | Measure horizontally between the left and right sides of the rough opening. | Take measurements at the top, middle, and bottom. Keep the tape level and measure the actual opening, not the existing door slab. | Record all three readings and use the smallest width. | Reveals whether the opening is uniform and helps prevent a door set from being too wide for the opening. |
| Opening Height | Measure vertically from the finished floor or threshold to the underside of the header. | Measure near the left side, at the center, and near the right side. Place the tape vertically without bending it. | Record all three readings and use the shortest height. | Accounts for an uneven header or floor and helps establish the maximum door-unit height. |
| Opening Squareness | Measure diagonally from the top-left corner to the bottom-right corner, then from the top-right corner to the bottom-left corner. | Compare the two diagonal measurements from the same reference points. | Record both diagonals and note the difference between them. | Equal diagonals generally indicate a square opening. A noticeable difference may require shimming or framing adjustment. |
| Jamb Depth | Measure from the face of the wall or finished surface to the back edge of the existing jamb or framing. | Check the depth at several points on both sides and across the head of the opening. | Record the smallest usable depth in inches or millimeters. | Confirms whether the selected frame can fit the wall thickness without projecting or leaving gaps. |
| Wall Thickness | Measure the complete thickness of the wall, including drywall, plaster, trim, paneling, or other finished surfaces. | Measure at an exposed edge or use a consistent reference point on both sides of the opening. | Record the finished wall thickness separately from the rough-opening dimensions. | Helps determine the correct frame size and the amount of extension or adjustment needed. |
| Finished Floor and Threshold | Inspect the floor directly beneath the opening and measure any existing threshold or floor transition. | Check for level from left to right and for changes in flooring height between the two sides. | Record the highest floor point and the threshold height, if present. | Affects door clearance, swing operation, weather sealing, and the final height of the door unit. |
| Clear Opening Width | Measure the unobstructed passage between the inside faces of the two door leaves when both leaves are fully open. | Do not include the frame, stops, hinges, or inactive-leaf hardware in the clear passage measurement. | Record the clear width separately from the frame or rough-opening width. | Provides the usable passage width for people, furniture, equipment, and accessibility planning. |
| Clear Opening Height | Measure from the finished floor or threshold to the lowest obstruction in the open doorway. | Check the frame head, door sweep, threshold, and any overhead obstruction. | Record the lowest unobstructed height. | Confirms that the finished double-door assembly provides adequate vertical clearance. |
| Door-Handing and Active Leaf | Stand on the side from which the door is normally approached and identify which leaf opens first. | Note the active leaf, inactive leaf, swing direction, hinge side, and any astragal or flush-bolt locations. | Record: active leaf, inactive leaf, inswing or outswing, and left or right hinge position. | Prevents ordering or installation errors and ensures the hardware functions in the intended direction. |
| Head and Side Clearance | Inspect the space above the opening and beside both jambs. | Look for pipes, ducts, wiring, trim, adjacent walls, light switches, railings, and other obstructions. | Record the minimum clearance on each side and above the opening. | Ensures the doors, frame, hinges, handles, and trim can operate without interference. |
| Recommended Measurement Record | Use a single measurement sheet for the complete opening. | Include width, height, diagonals, jamb depth, wall thickness, floor condition, handing, and photographs. | Write dimensions in one unit system, such as inches or millimeters, and label every reference point. | Creates a reliable record for comparison, installation planning, and final verification before fabrication or purchase. |